Case Study
Lighting Designer: Fixture Targeting
Challenge
A light fixture is frequently focused on a subject, whether that’s a person, or an object. Just as frequently, the fixture or the subject has to move, meaning that the fixture is no longer focused correctly. Also, users needed to know which fixtures are focused on which subjects at a glance, and whether other objects on the plot will be affected by a light’s beam.

The Team
At this point, it’s just me with Lighting Designer. I’m the designer and developer, and also the beta tester.
Research
This is actually a feature that doesn’t exist in many plotting apps. Most take a “drafting” approach, in which fixtures are placed and rotated, but don’t interact much with what’s around them. One of the cornerstones of the Lighting Designer UX is that the plot is not a flat, static document; it’s a living thing that should encourage interaction and flexibility.
Pain Points
Typically, plots get crowded, especially for studio settings. It’s hundreds of light fixtures all nestled together, each threading the needle to illuminate what it’s supposed to. So the user’s most difficult task is knowing which fixtures are focused on which subjects. Also, a subject can have 30 lights focused on them; so if they move, all of those fixtures are now unfocused. Users needed a way to make those adjustments automatically. They also want to know how these movements affect the light hitting the subject.

Feature Ideas
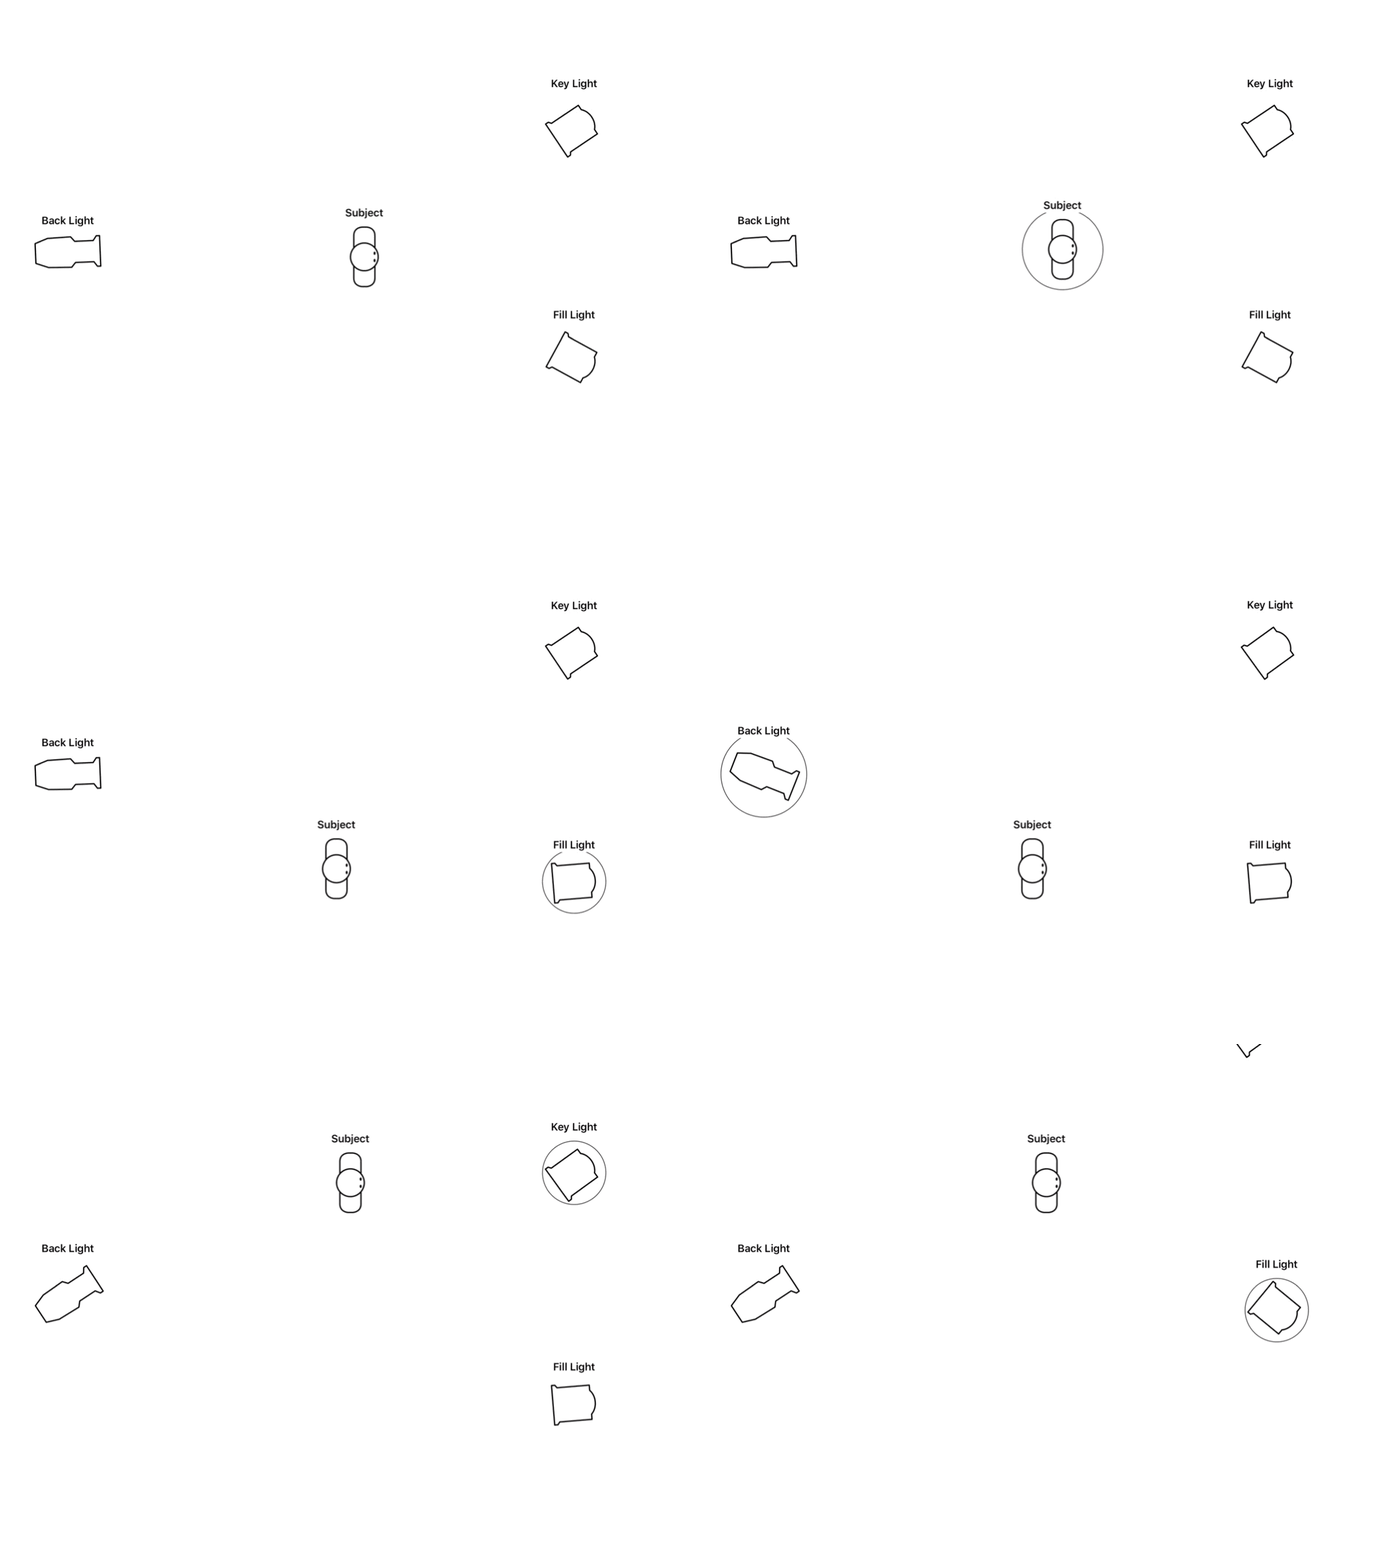
The solution was a function called targeting. A light fixture’s aim is controlled by dragging a crosshairs around the plot, and if the crosshairs are released on another plot object, the selected fixture is now targeting that object. If the fixture is moved, it automatically adjusts its rotation to point at its target; if the target moves, the targeting fixture rotates to follow it.

The other part of the solution was exposure calculation. This has been a big request from users for a long time, and this was absolutely the time to do it. Our third-party database partner supplied candela and beam angle values for its fixtures, and I built a table so users could enter their own values, or calculate them from light meter readings. Using that data, I could display the fixture’s beam on the plot, and also determine its brightness when it hits its target subject.

Candela is the unit for the amount of light emitted in one direction, so to find the brightness on the subject I convert that to foot-candles, which is a measurement of the amount of light hitting an object:
fc = cd/d2
fc is the resulting foot-candles
cd is the candela value of emitted light
d is the distance from the fixture to the subject
To convert foot-candles to lux (which is a common European unit of brightness), I simply multiply the foot-candles by the constant 10.76391, because foot-candles and lux are just like feet and meters; two ways of measuring the same thing. If I wanted to calculate brightness in terms of f-stop, for a camera, I would use the formula:
N2/t = ES/C
N is the mathematical f-stop
t is the time (seconds), based on frame rate/shutter angle, or shutter speed
E is the illuminance (lux), or light hitting an object
S is the ISO, or light sensitivity of the camera
C is the “light meter calibration constant”, which represents either a hemisphere or a flat disc on a light meter
F-stop is actually the denominator of a fraction; when 1 is the numerator, that ratio represents the focal length of the lens (e.g. 50mm) to the diameter of the lens aperture. (This is why a smaller f-stop actually means a wider aperture.) Although this mathematical f-stop can be expressed as a floating-decimal value, in practice it’s usually assigned as a standard f-stop number and an adjustment of 0.1 to 0.9, as displayed on a light meter. The time and ISO values may also be adjusted to achieve certain effects, and the user can get a sense of what they’ll need to light for those adjustments.

Prototyping
This was fairly easy to implement on the engineering side, but it still left the problem of knowing which fixtures were targeting which subjects. After some test usage, I came up with the idea of pointers: an arrow from the targeting fixture to its target. The user can decide whether it appears only when one of the objects is selected, or when the plot is rendered, or always. They can also choose to display certain identifying information about the targeting fixture, such as its purpose, distance, calculated brightness, and channel (a unique ID number that’s very useful in lighting practice).

In addition, I allowed the user to set their own “mid tone,” which is their ideal exposure, in foot-candles, lux, or f-stop. For instance, if they were designing for a film, they’d set their mid tone to the camera’s f-stop. That way I can have the fixture’s beam stop when it reaches that mid tone, giving the user a helpful hint about whether they need to dim the fixture, spot the lens, or switch it for a more powerful one. In addition, the pointer label shows how many foot-candles, lux, or f-stops over or under the mid-tone each fixture’s brightness is, giving the user even more information to make informed decisions ahead of time.
Final Design


What I Learned
I got a lot of compliments for these features; users loved being able to see instantly which fixtures were targeting which subjects. They also really appreciated the exposure calculation; it can never be 100% accurate because of things like dirty lenses and electrical fluctuations, but it provides excellent approximations so they can make decisions beforehand. These improvements allowed them to move more quickly on set and make their plot a living part of their workflow, rather than just a passive reference, which is a large part of the Lighting Designer brand and mission.
